Acurite Weather Station Mounting Guide
# Acurite Weather Station Mounting Guide
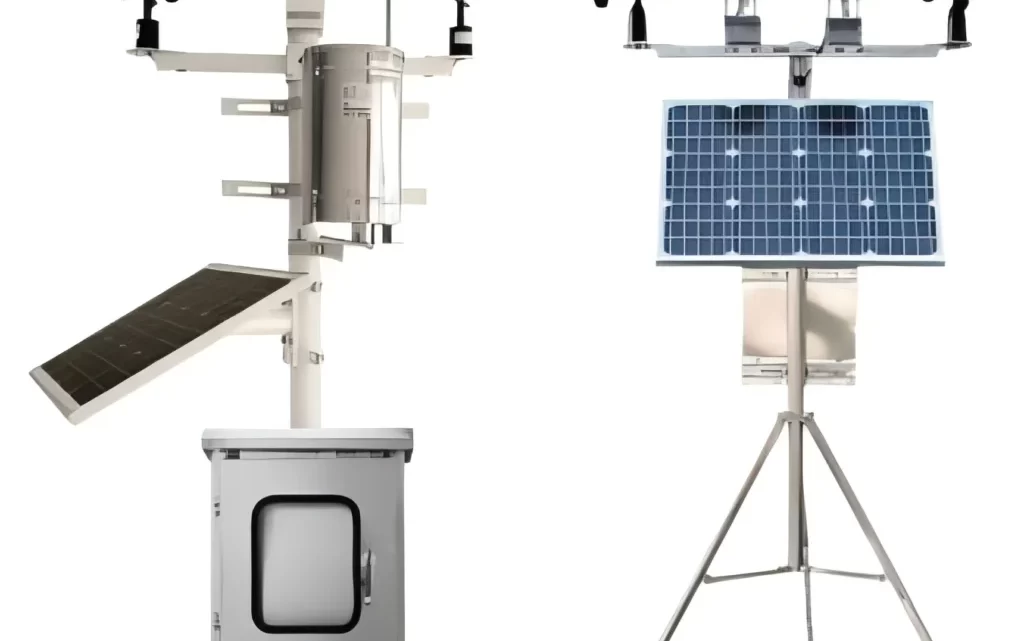
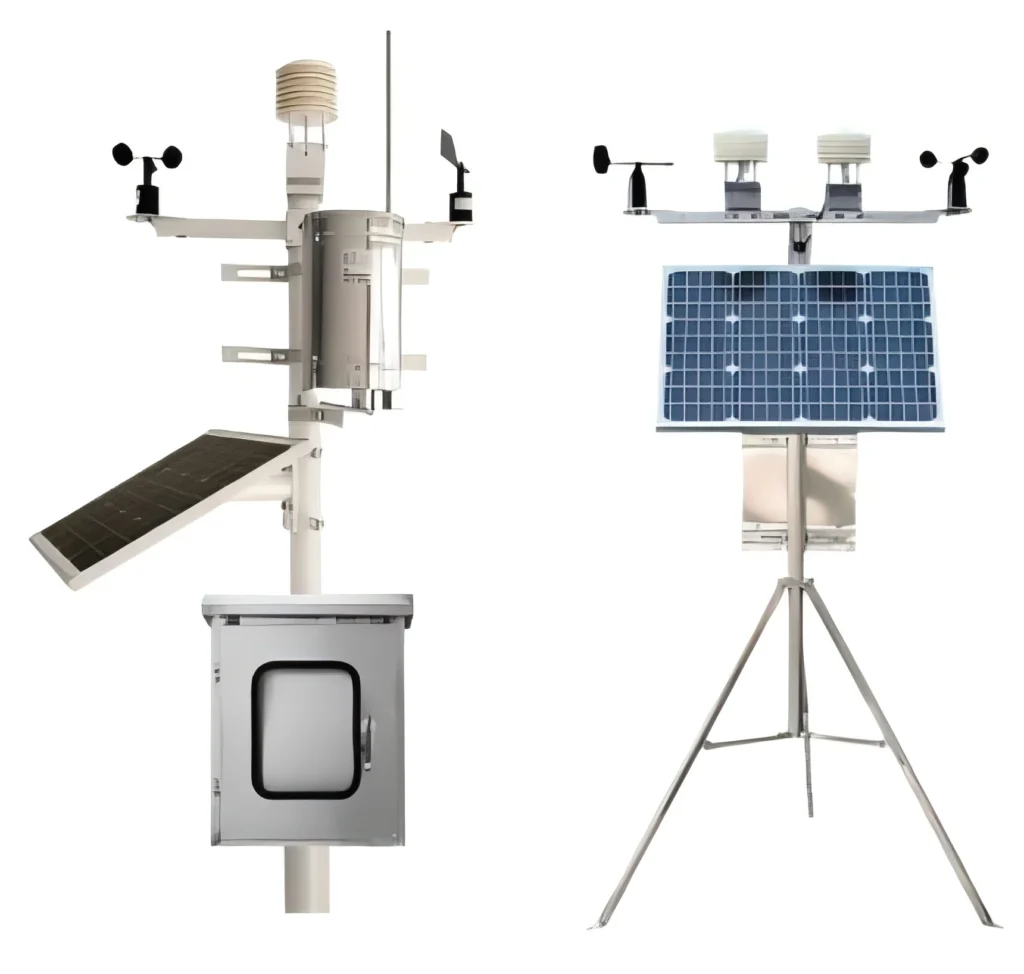
Mounting your Acurite weather station correctly is crucial for accurate weather readings. Whether you’re a weather enthusiast or just want to keep track of local conditions, proper installation ensures reliable data. This guide will walk you through the steps to mount your Acurite weather station effectively.
## Choosing the Right Location
Before mounting your Acurite weather station, it’s essential to select an optimal location. The placement of your weather station can significantly impact the accuracy of the data it collects. Here are some key considerations:
– **Avoid Obstructions:** Ensure the area is free from obstructions like trees, buildings, or other structures that could block wind or sunlight.
– **Height Matters:** Mount the station at a height of 5 to 6 feet above the ground to avoid ground interference while still being accessible for maintenance.
– **Level Ground:** Place the station on level ground to ensure accurate readings, especially for rain gauges and barometric pressure sensors.
## Tools and Materials Needed
Before you begin, gather the necessary tools and materials:
– Acurite weather station unit
– Mounting bracket or pole
– Screws and anchors (if mounting on a wall)
– Level
– Drill (if needed)
– Screwdriver or wrench
## Step-by-Step Mounting Instructions
### 1. Assemble the Mounting Bracket
Start by assembling the mounting bracket that comes with your Acurite weather station. Follow the manufacturer’s instructions to ensure all parts are securely attached.
### 2. Choose the Mounting Surface
Decide whether you’ll mount the station on a wall, pole, or another stable surface. Ensure the surface can support the weight of the station and withstand outdoor conditions.
### 3. Mark the Mounting Points
Use a pencil to mark the spots where you’ll drill holes or attach the bracket. Double-check the placement with a level to ensure the station will be mounted straight.
### 4. Secure the Bracket
If mounting on a wall, drill pilot holes and insert anchors if necessary. Then, use screws to secure the bracket to the wall. For pole mounting, attach the bracket to the pole using the provided hardware.
### 5. Attach the Weather Station
Once the bracket is securely in place, attach the Acurite weather station to the bracket. Ensure it’s firmly attached and doesn’t wobble.
### 6. Test the Station
After mounting, power on the weather station and check that all sensors are functioning correctly. Verify that the display unit is receiving data from the outdoor sensors.
## Maintenance Tips
To keep your Acurite weather station in top condition, follow these maintenance tips:
– **Regular Cleaning:** Clean the sensors and rain gauge periodically to prevent debris from affecting readings.
– **Battery Check:** Replace batteries as needed to ensure continuous operation.
– **Inspect Mounting:** Periodically check the mounting bracket and hardware to ensure everything remains secure.
By following this Acurite weather station mounting guide, you’ll be well on your way to accurate and reliable weather data. Happy weather tracking!
Keyword: acurite weather station mounting